11. Conditional Columns
Goal: Create a category column with if/else logic. No formula typing is needed.
A conditional column is the Power Query way to write an IF formula. You fill a form. Power Query writes the M code for you.
Step 1: Add the column
- Click the Location table.
- Click Add Column in the ribbon.
- Click Conditional Column.
The Add Conditional Column window opens.
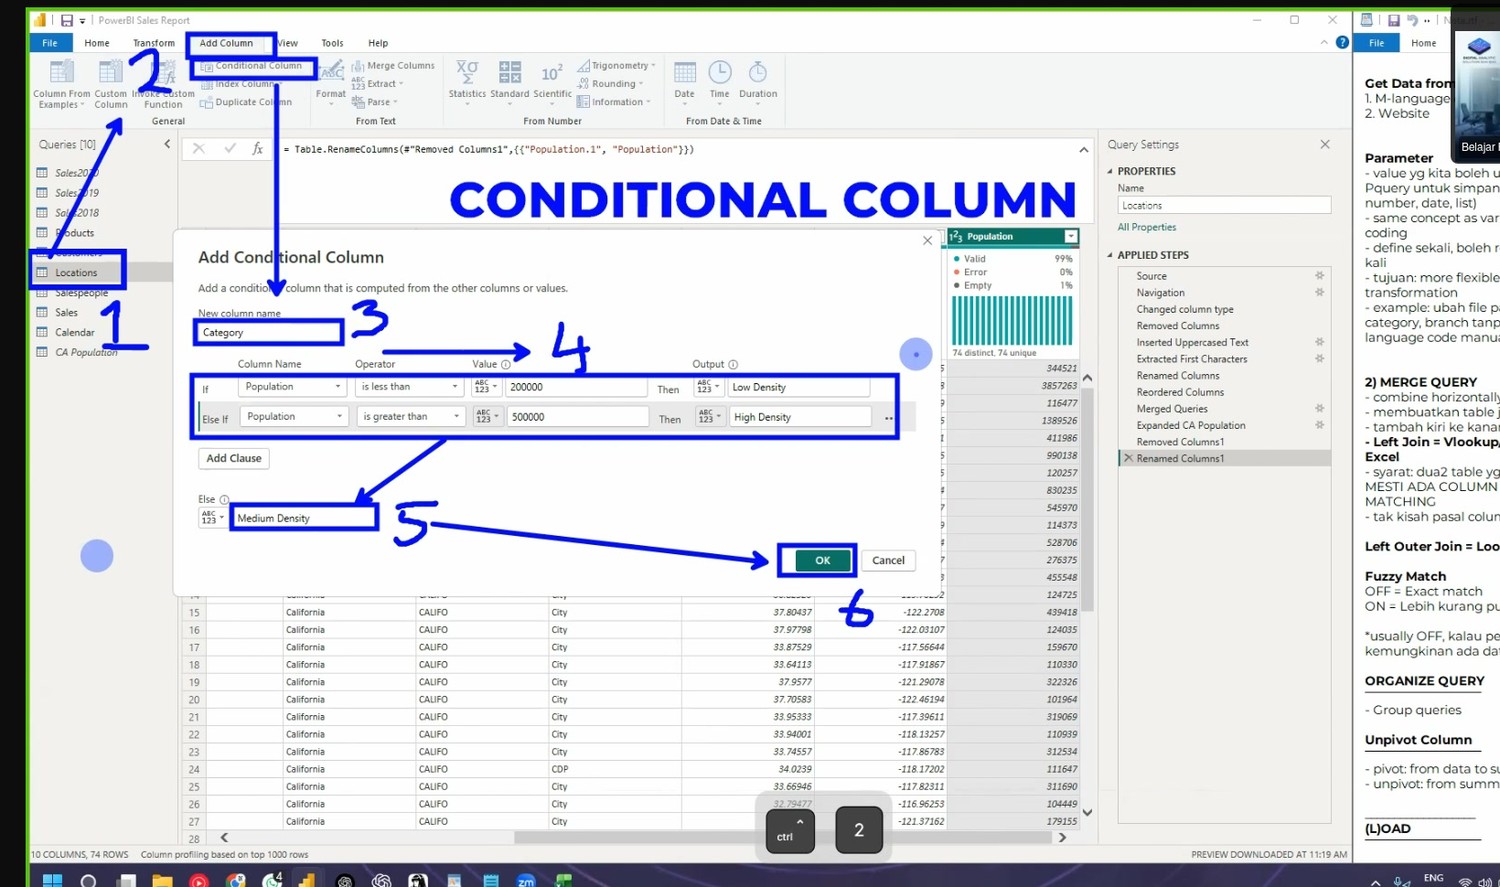 The Add Conditional Column window.
Step 2: Define the first condition
- Type the new column name: Category.
- Set the first condition:
- Column name: Population
- Operator: is less than
- Value: 100000
- Output: Low density
- Click Add clause.
Step 3: Add the second condition
- Set the next condition:
- Column name: Population
- Operator: is greater than
- Value: 500000
- Output: High density
- The else value: Medium density.
Power Query fills any row that matches no condition with the else value.
- Click OK.
The result
| Population | Category |
|---|---|
| 80,000 | Low density |
| 250,000 | Medium density |
| 600,000 | High density |
| (empty) | Medium density |
Error after the merge
Some population values are empty (null) after the merge. These rows show an error in the Category column.
Step 4: Fix the error rows
- Right-click the Category column header.
- Click Replace Errors.
- Type No data in the value box.
- Click OK.
The errors become the text "No data". The column has no more errors.
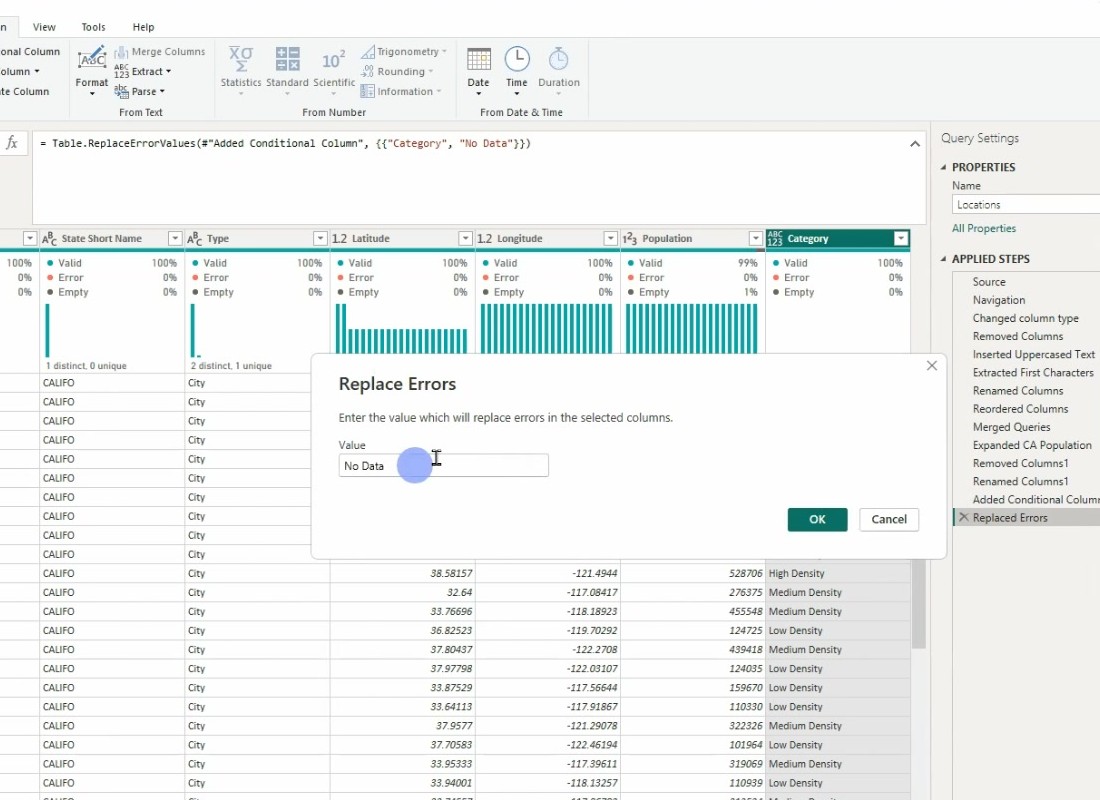 The Replace Errors window. Type No data in the Value box.
Trainer screenshot
The trainer shares this screenshot in the Zoom chat. Save it for your notes.
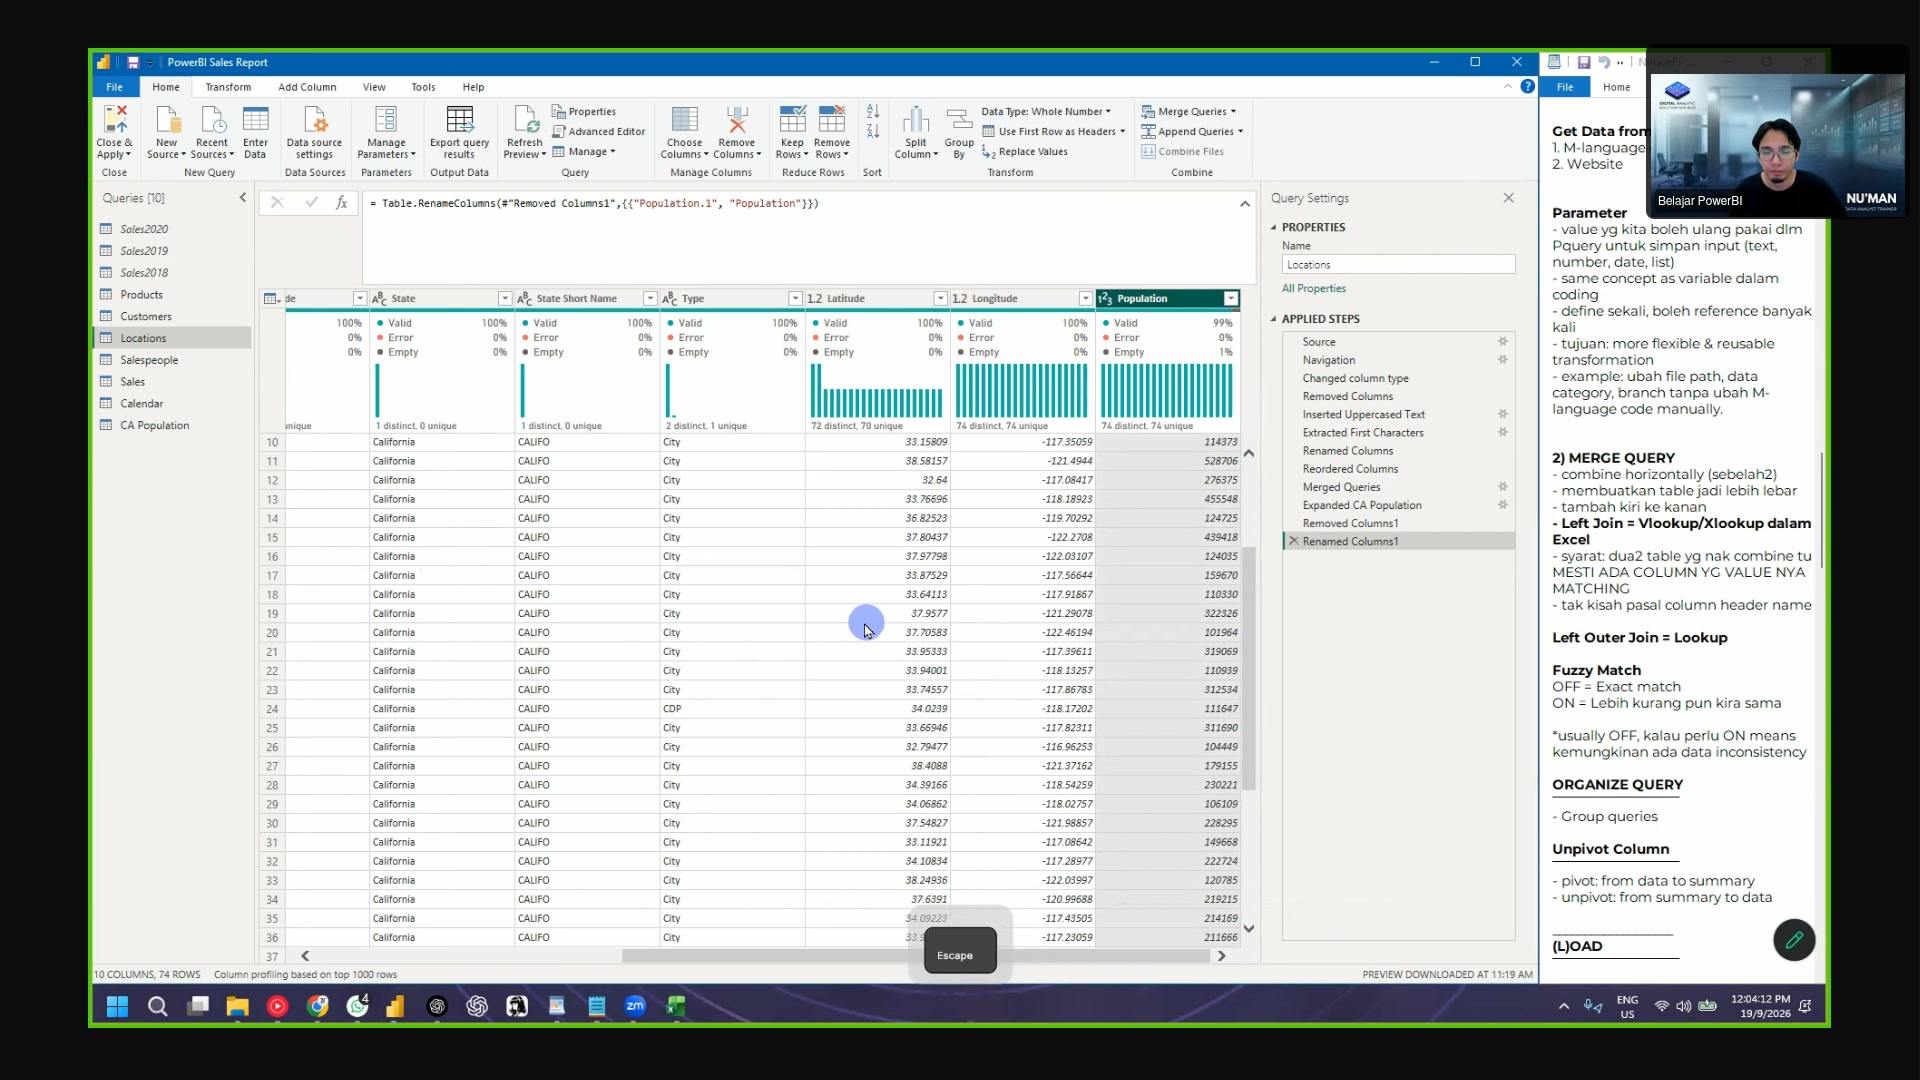 The trainer's screen at the "share screenshot" moment: the conditional
column result with the error rows.
Other error fixes
You can also filter out the error rows or remove them. Use Replace Errors when you want to keep all rows.
Next: Continue to 12. Data Model.