1. Before You Start
Goal: Prepare your computer and your data files for the training.
Step 1: Download and install Power BI Desktop
- Open a web browser.
- Go to the Microsoft Power BI download page.
- Download Power BI Desktop.
- Install Power BI Desktop.
- Open Power BI Desktop. A welcome screen appears.
Power BI is free
Power BI Desktop is free. You do not pay to download or use it. You only need a paid license to publish reports to the online service.
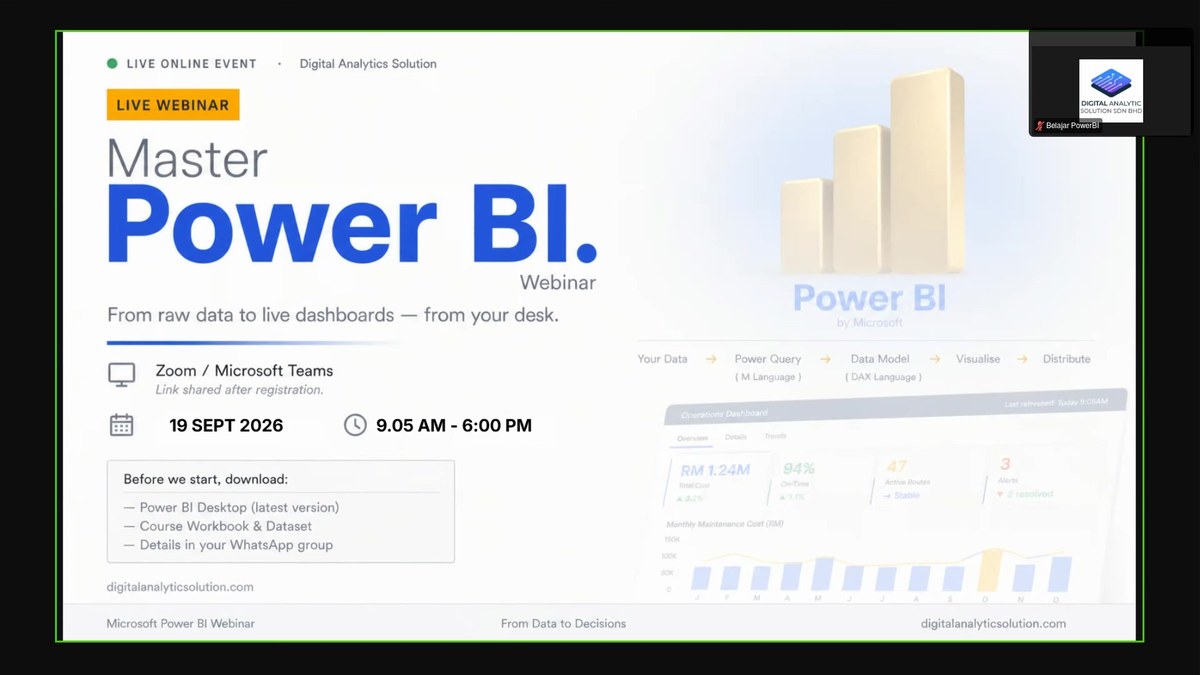 The trainer's opening slide from the webinar.
Step 2: Get the training files
- Open the download link from your trainer's message.
- Download the training folder.
- The folder contains these files:
| File | Contents |
|---|---|
| Raw.xlsx | The raw sales data, without formatting |
| Dataset.xlsx | The prepared sales data |
| Pivot Exercise.xlsx | Practice data for pivot tables |
| CA Population Data.xlsx | California city population data |
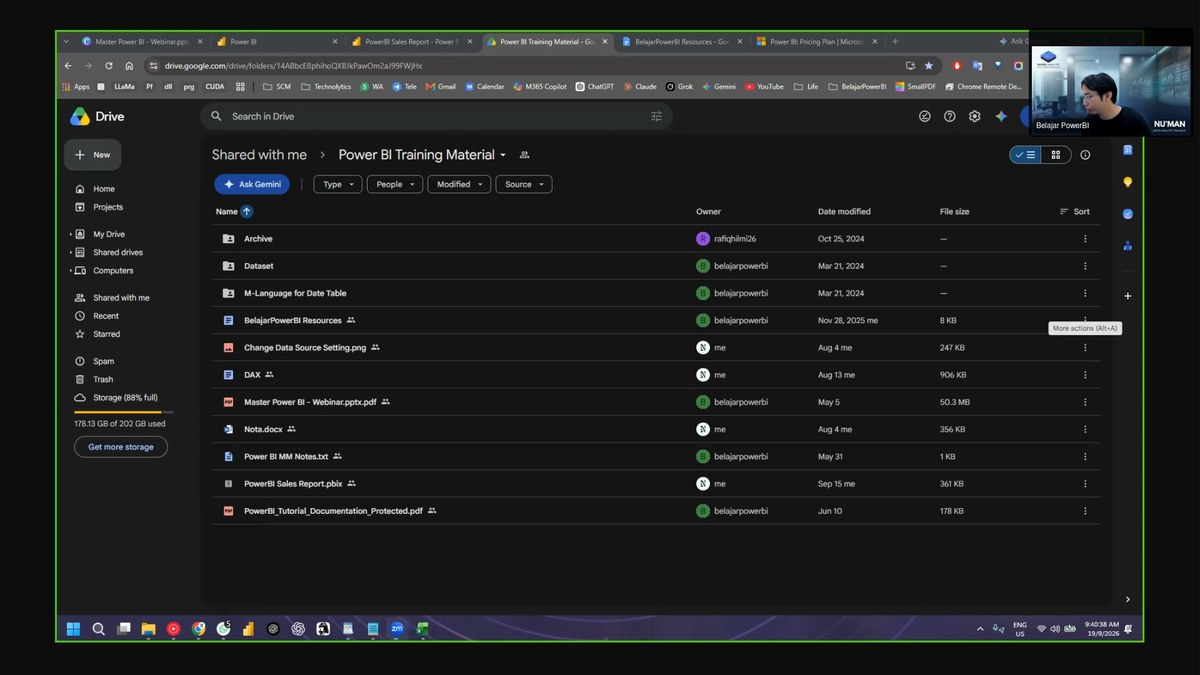 The shared folder with the training files.
Step 3: Set up two screens (recommended)
The trainer recommends two screens for the live class.
- Use one screen for Power BI Desktop.
- Use the second screen for the Zoom meeting.
You can use a monitor, a tablet, or a second laptop as the second screen. If you have only one screen, the class still works. You must switch windows more often.
Why two screens
When you share your screen during the class, the trainer can see your problem and help you faster.
Next: Continue to 2. Power BI Settings.