4. Load the Data
Goal: Import the Excel tables into Power BI, then open Power Query.
Step 1: Sign in to Power BI
Some features need a license. Sign in first.
- Open Power BI Desktop.
- Click Sign in in the top-right corner.
- Use your company email. If you do not have a company email, use the training email from the trainer.
Company email
Power BI works best with a company domain email. A Gmail or Yahoo address may not work for publishing. You can still practice offline.
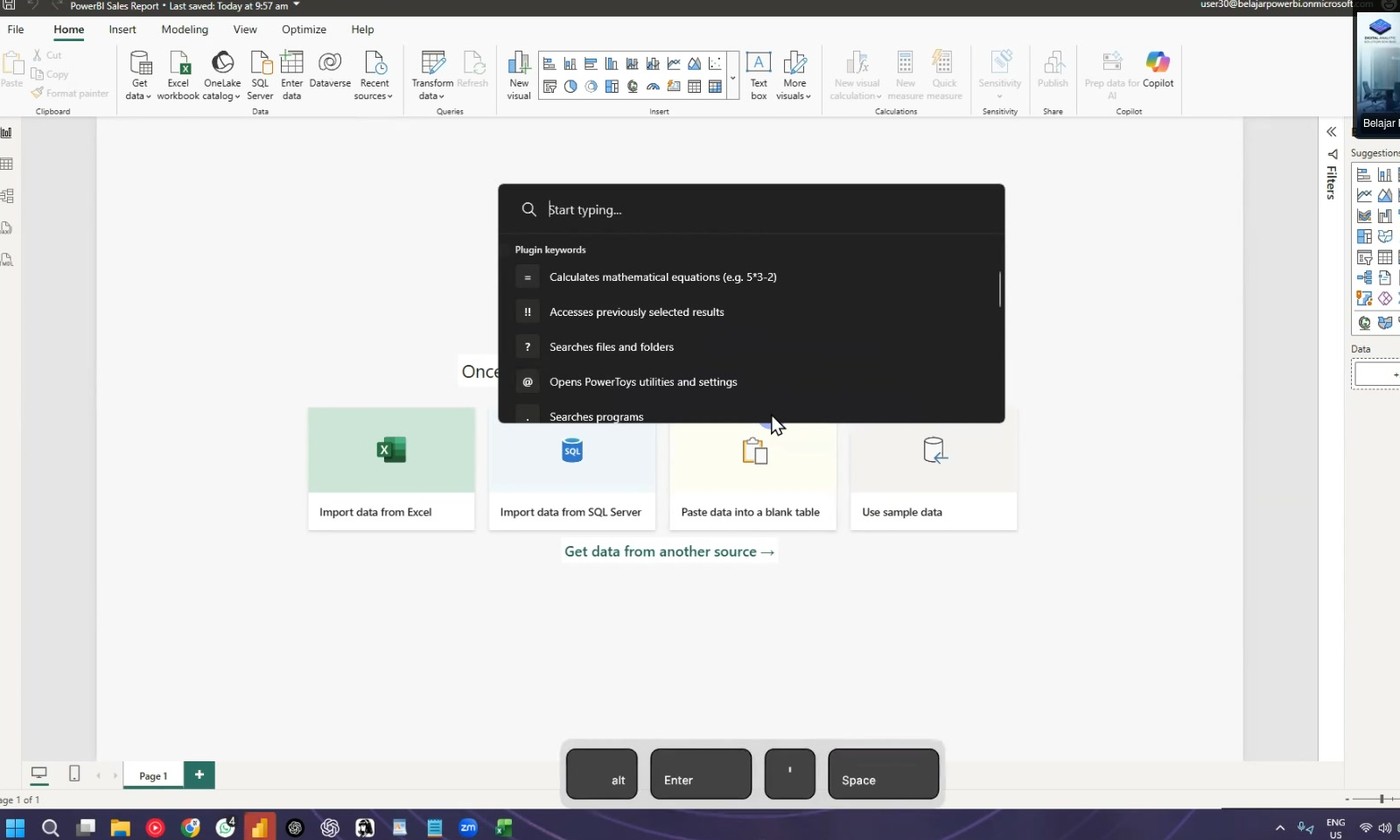
Step 2: Import the Excel file
- Click Home in the ribbon.
- Click Excel workbook.
- Find the training folder.
- Click Dataset.xlsx.
- Click Open.
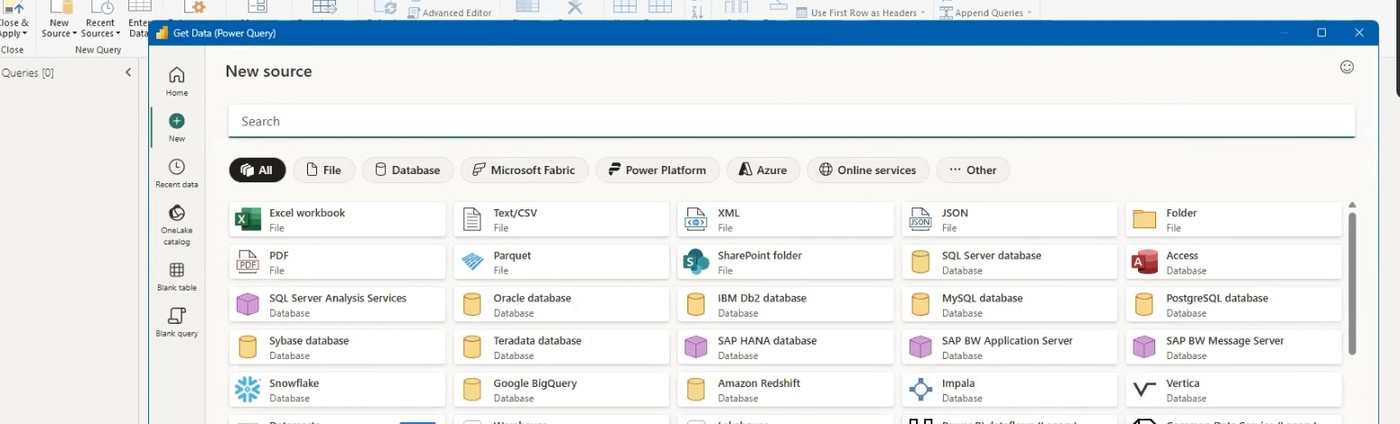 The Get Data group on the Home ribbon.
Step 3: Select the tables
The Navigator window opens. It shows all the tables in the file.
- Look at the left panel. It lists the tables.
- The icon shows the type: table or worksheet.
- Check all seven tables. Select the checkbox next to each table name.
- Do not click Load yet. You must transform the data first.
Use tables, not sheets
The tables from Ctrl+T appear with a table icon. Choose tables. Worksheets include everything on the sheet. Tables include only the real data. This saves you work later.
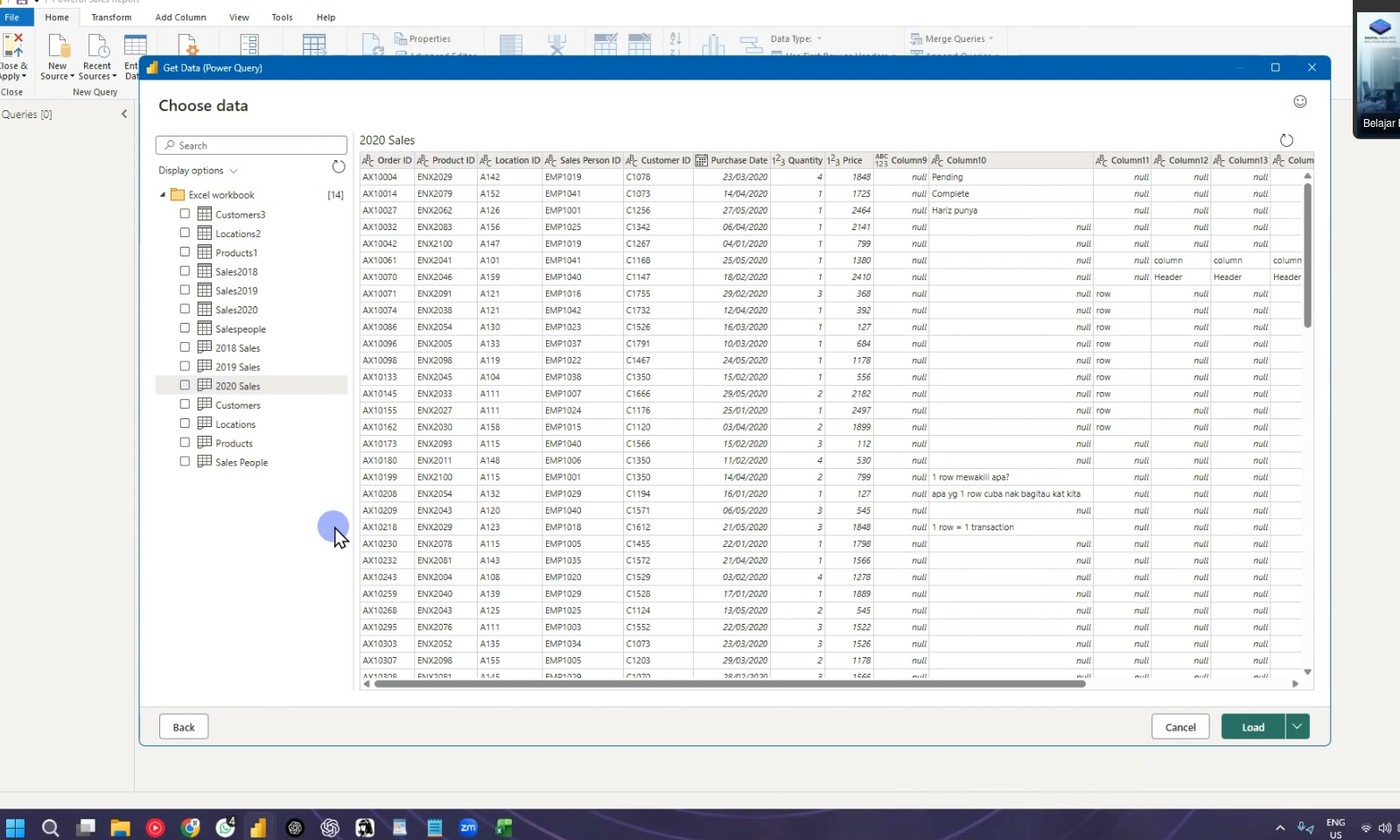 The Navigator window.
Step 4: Open Power Query
- Click the arrow next to the Load button.
- Click Transform Data. The Power Query Editor opens in a new window.
- Power Query shows a preview of the data.
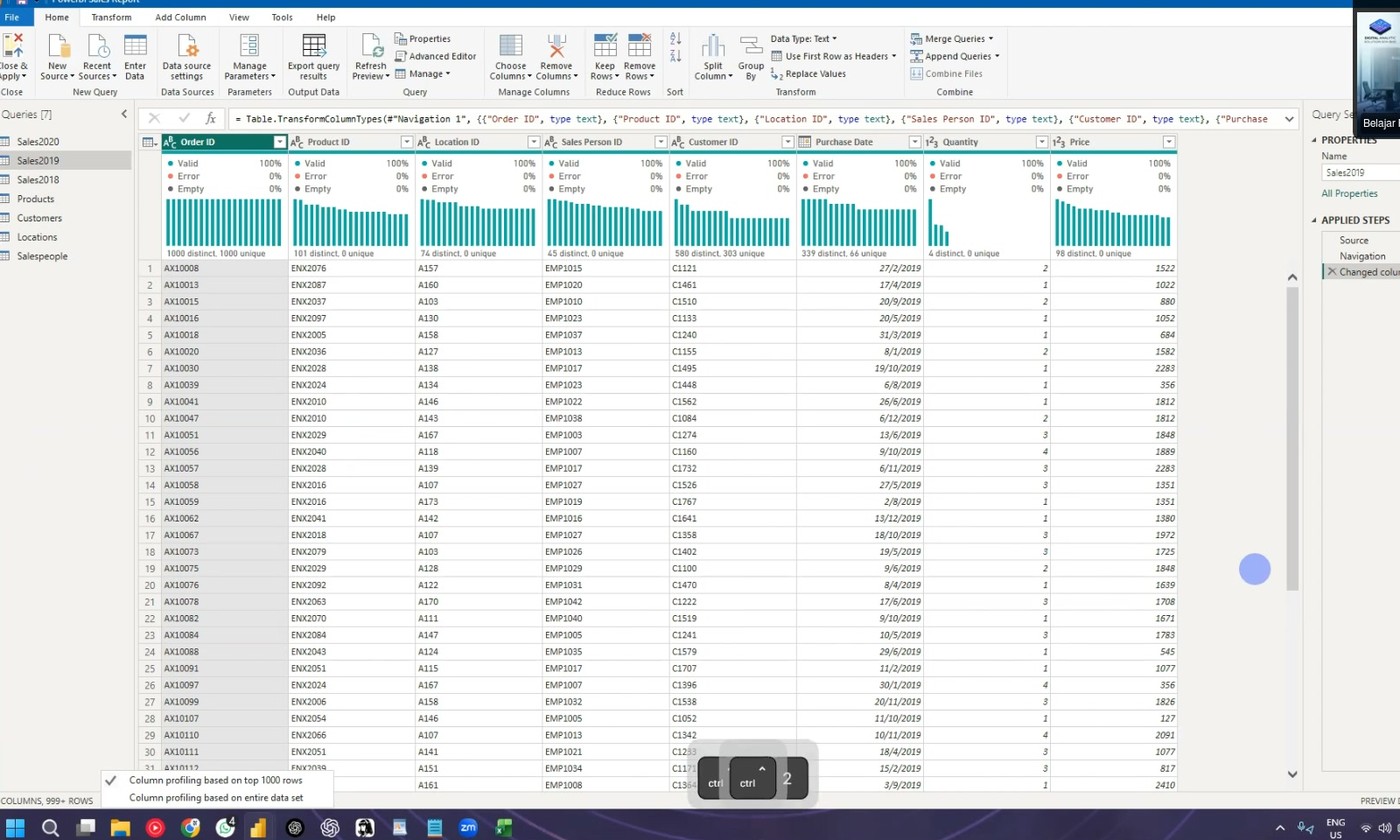 The Power Query Editor.
Two windows
Power BI and Power Query are two windows. Power Query is the editor in front. Power BI is behind it. Both stay open.
Step 5: Refresh the preview
- In the Power Query ribbon, click Refresh Preview.
- Click Refresh All.
Power Query reloads the data from the Excel file.
Preview only
The preview shows a sample. It does not load all rows. A data type warning may show the words "Table.TransformColumnTypes". You can ignore this warning. It is only about the preview sample.
Next: Continue to 5. Power Query Basics.